Quick Start: Raspberry Pi GPIO Terminal Interface
February 17, 2022
Blog

In this guide, I’ll take you through how to set up a Raspberry Pi from a blank SD card and how to turn on GPIO pins remotely via a terminal. I’m using the MacOS terminal, but other programs, such as PuTTY should work just as well.
Install Raspberry Pi OS, Setup SSH, Log On
There are a number of ways to install Raspberry Pi OS, however I prefer to use Balena Etcher, and save my setup text files for reuse later to make things easier. For this operation we’ll be using Raspberry Pi OS Lite (though the desktop versions should work as well), available on the Raspberry Pi OS downloads page. Insert the flashed SD card to your Pi’s slot, power it on, and allow it some time to come up on your network. More info on connecting via a terminal is found via this post.
MacOS Terminal Notes: To find the Pi, I now use Angry IP scanner. Alternatively, in MacOS, you can generally connect via the command ssh pi@raspberrypi.local. If this hassles you about how the “REMOTE HOST IDENTIFICATION HAS CHANGED,” pop in the command ssh-keygen -R raspberrypi.local to set things back to normal. Also, when running commands, make sure you’re actually logged into the pi (pi@praspberrypi:~ $) and not accidentally messing about in your MacOS system... Ask me how I know this.
Image Credit: screencap
Activate GPIO Via Terminal Commands
Once logged on, at the pi@raspbeerrypi prompt, enter raspi-gpio help to see what GPIO commands are available. A few quick examples:
- raspi-gpio get prints the state of all GPIO pins
- raspi-gpio get X prints the state of GPIO pin X
- raspi-gpio set X op sets GPIO pin X as an output
- raspi-gpio set X dh sets GPIO pin X to drive high
- raspi-gpio set X dl sets GPIO pin X to drive low
For example, to make pin 18 drive high, first input raspi-gpio set 18 op to make pin 18 an output, then raspi-gpio set 18 dh to set it to high. You can also combine commands, such as raspi-gpio set 18 op dh to set pin 18 to an output and drive it high in the same line.
To set pin 18 to input, use the command raspi-gpio set 18 ip. This allows you to read an external high/low voltage state with the raspi-gpio get 18 command. The get command works when the pins are in output mode as well, but will be dictated by how you set them.
As for what pins do what, pinout.xyz has an excellent GPIO chart Raspberry Pi, including the de facto standard B+, the more compact A+, and the even smaller Zero. The raspi-gpio command goes by the GPIO/BCM pin numbering, but the physical pin arrangement, as well as the Wiring Pi numbers are also listed there if needed.
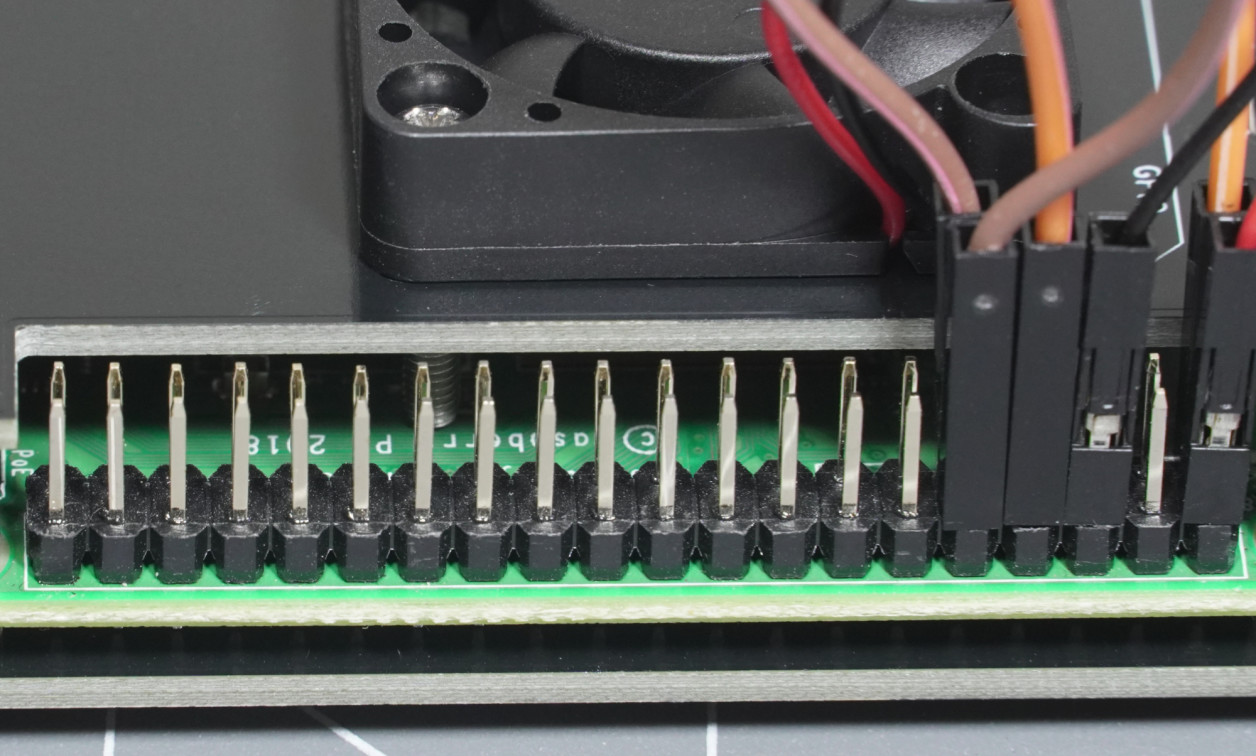
Keep in mind when using these pins that the amount of current they can provide is well under 20 mA each, and the GPIO pins work at 3.3V. So, if you want to control anything more than a small LED or two, with the appropriate resistor, you’ll need an amplification setup. I’d suggest the EZ Fan 2 seen here for small loads like a PC-style cooling fan, but as its creator, I may be a bit biased.
Jeremy Cook is a freelance tech journalist and engineering consultant with over 10 years of factory automation experience. An avid maker and experimenter, you can follow him on Twitter, or see his electromechanical exploits on the Jeremy Cook YouTube Channel!


